

This is a quick update on how to use 35mm film in a Diana camera. I haven't got all the kinks worked out yet, but this is what I've done so far.
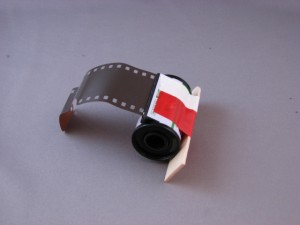
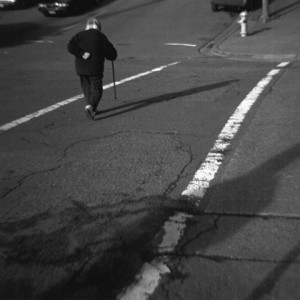
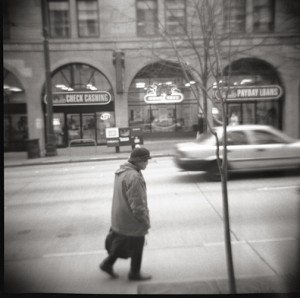
These photos are from the first roll of 35mm film I tried running through my Diana+. I gave up on the eBay 35mm film adapter. In the Holga conversion, they use foam rubber, but that didn't seem practical because of the Diana's physical design. I used a wooden tongue depressor, cut to the height of a 120 film spool. A popsicle stick would also work, but I like the wider tongue depressor, because there's more area to tape to. I think it makes the 35mm cassette more stable. I taped the film to that, to position the cassette in the center of the film path. I didn't use the 16 frame mask.
From the first roll results, the first thing you notice is the red circle in the middle of the frames. I had taped up the open window from the inside of the camera, so I thought I hadn't done a good enough job. Then I realized that I had only taped the open window, not both counter windows. The leakage is from the window that was covered by the plastic counter slider. It isn't light tight, so next run, I'll be taping up both windows.
I had no idea how far to advance the film, but I had read somewhere on flickr, that 2-1/2 turns works for the Diana. That's about twice what you need. The width of each frame is about 11 sprocket holes. 2-1/2 turns is about 21 sprocket holes at the beginning of the roll to about 23 sprocket holes by the end of the roll (it changes as the roll increases on the takeup spool). Next time, I will try 1-1/2 turns. I made a mark with a sharpie pen on the winder knob, so I could tell how far I was turning it. I might have skipped a few details here, but I will write this up fully when I am done. I also will try and figure out how to use 35mm film with the 16 frame mask in the Diana+ and a vintage Diana camera.
 kaiy |
  Post a Comment |
  Diana+,
  International District,
  Lomography,
  Seattle in
  Diana camera,
  Photo
Photo  Diana+,
  International District,
  Lomography,
  Seattle in
  Diana camera,
  Photo
Photo 


