

Polaroid Land Camera - Battery Conversion Mod
This is one of the most requested videos I have on my to do list. I'm still working on the video, but here is the Words and Pictures version of it.
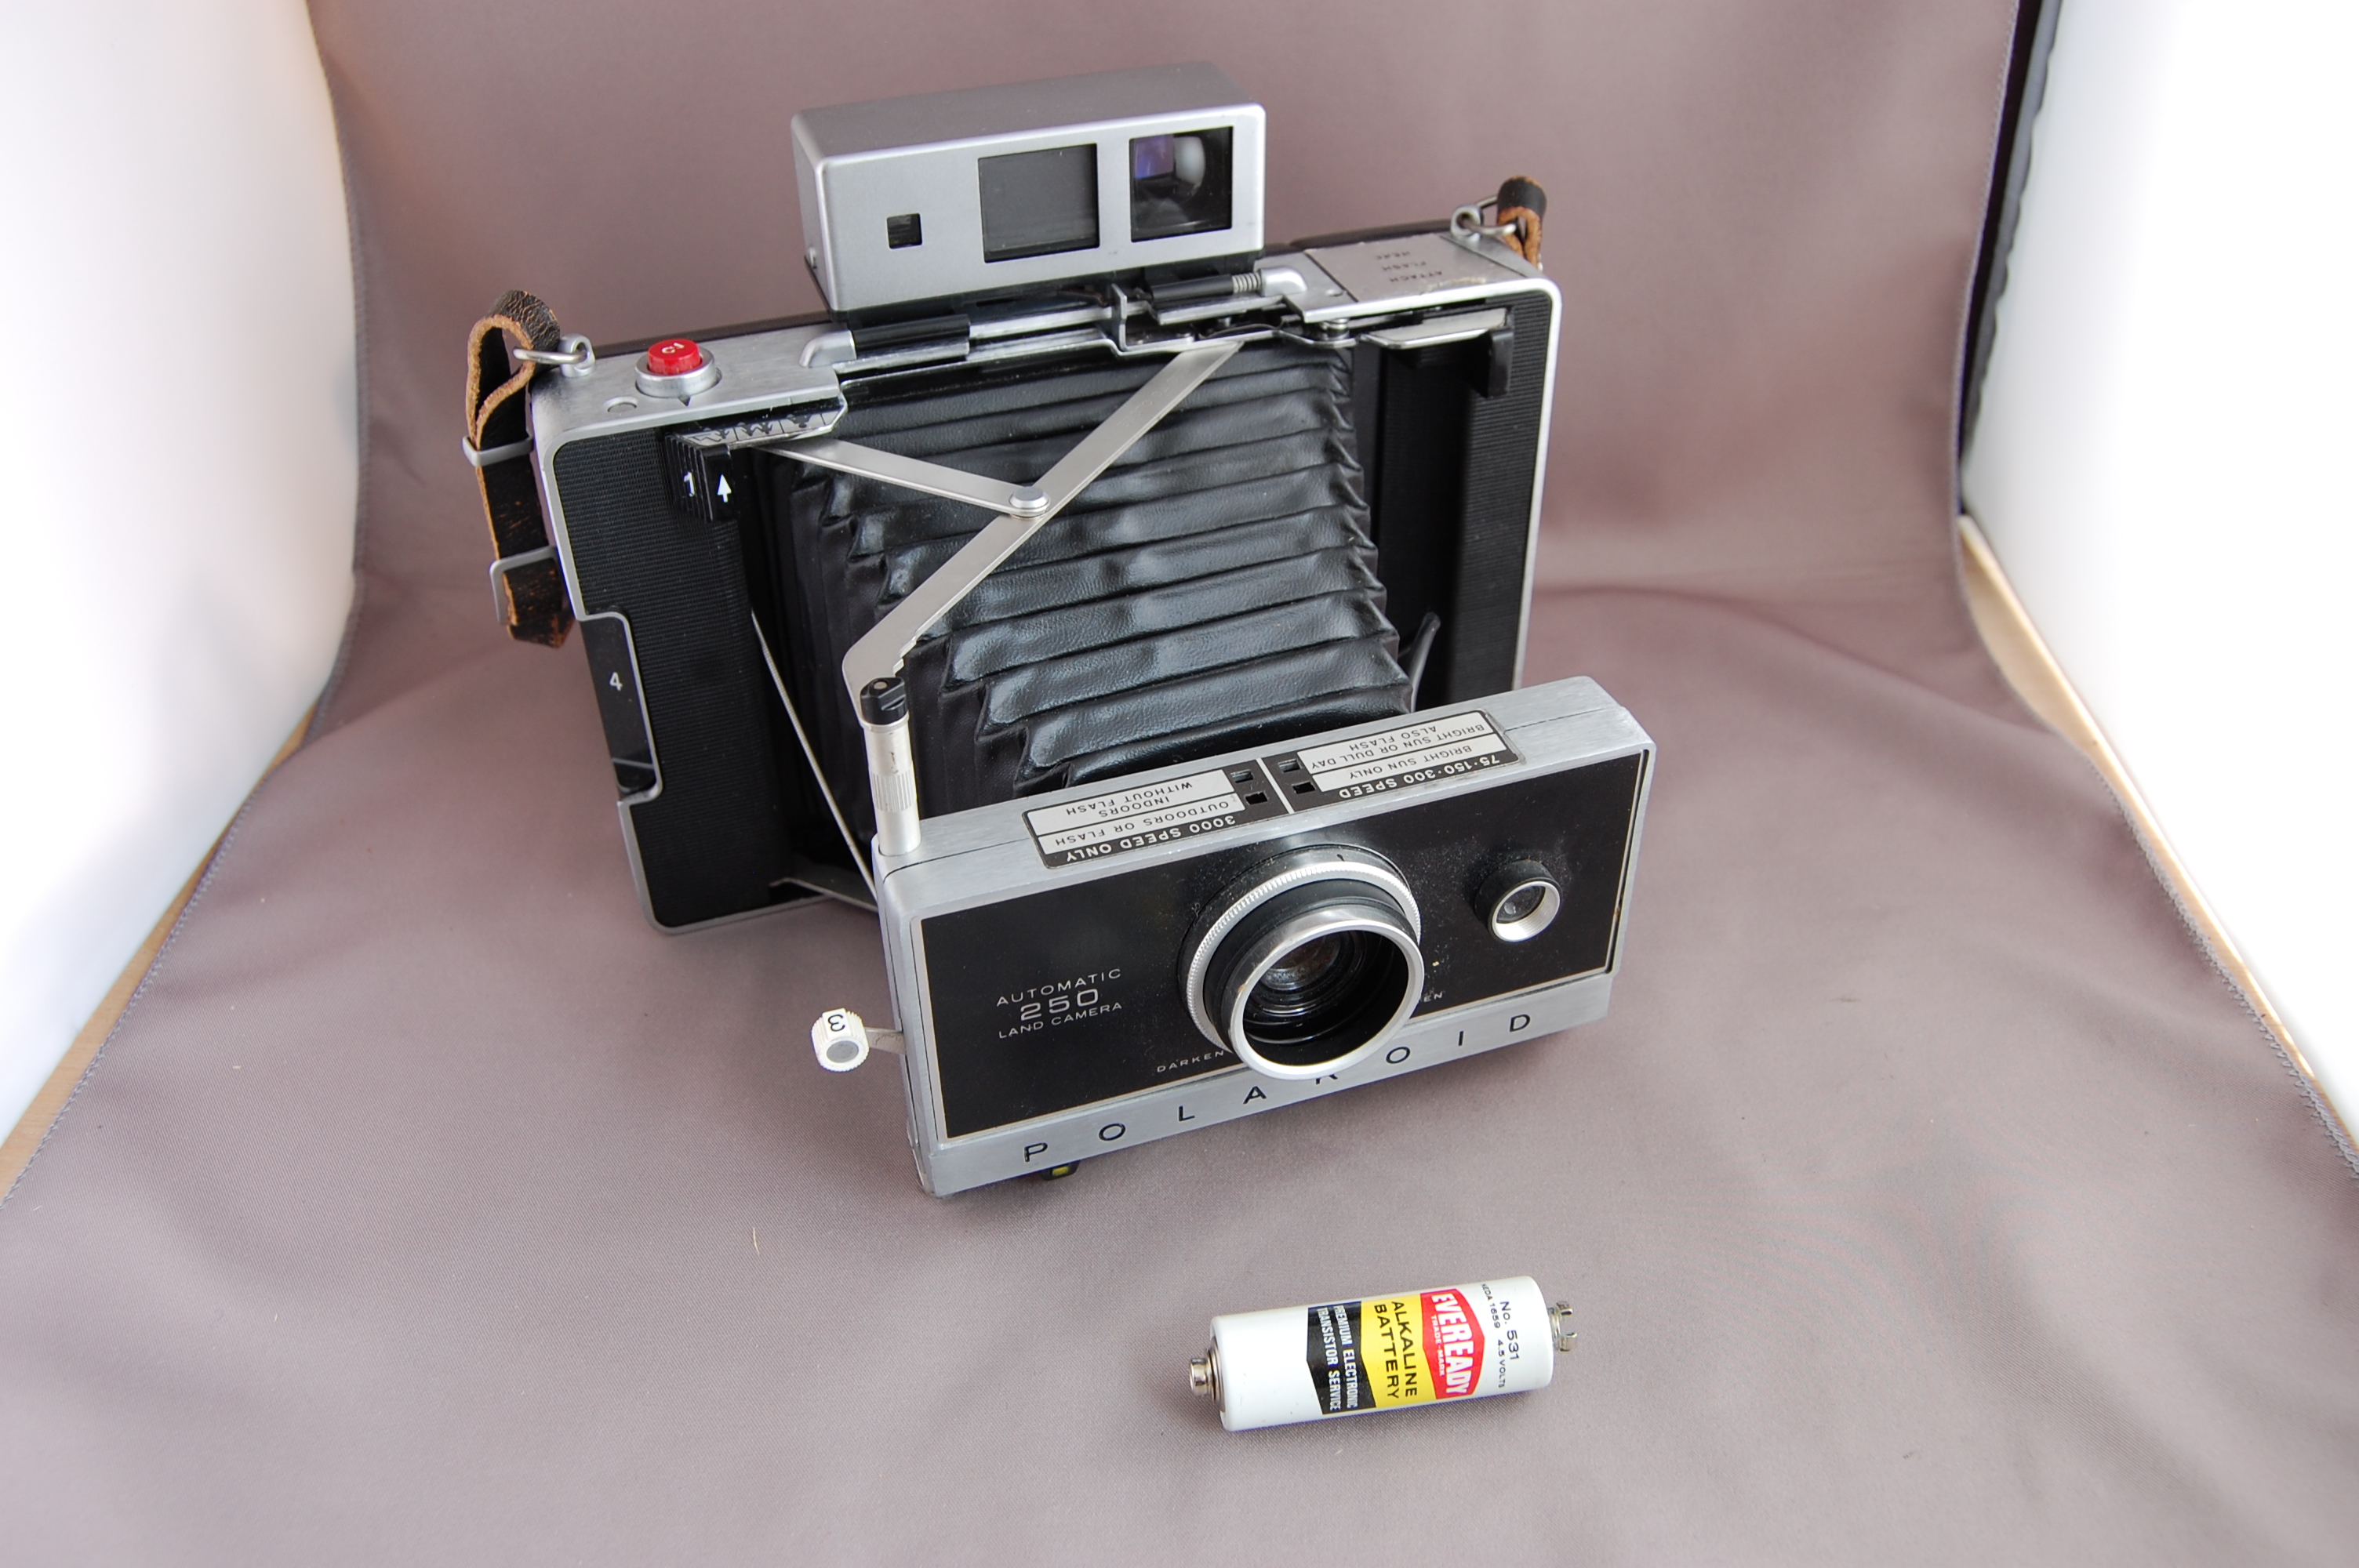
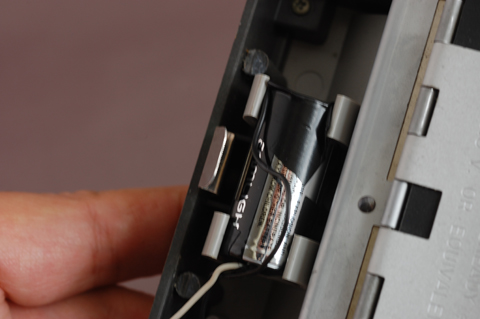
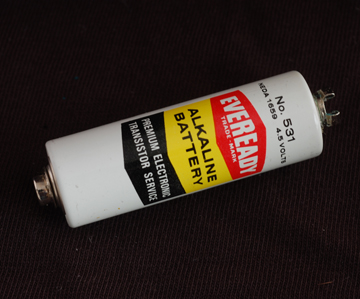 The metal body folding Polaroid Land cameras use an odd battery that has snaps on either end.
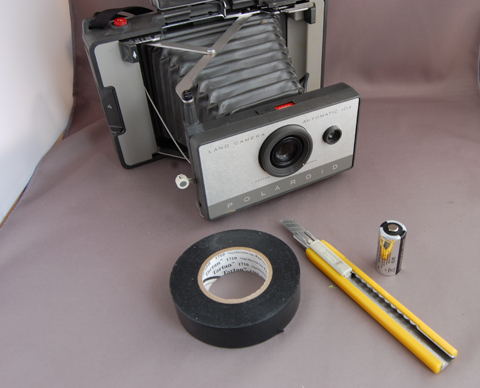
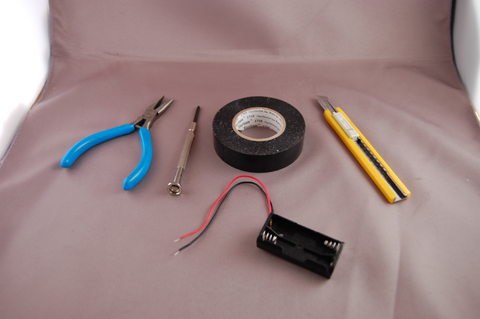
- Utility knife
- Electrician's Tape
- CR 123 3v battery (or equivalent)
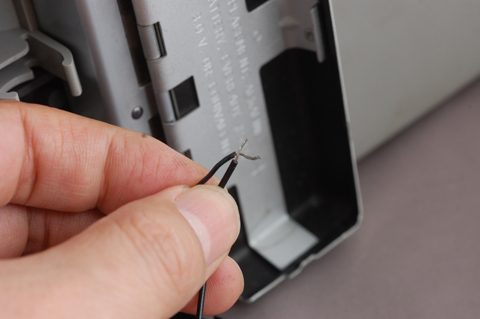
Step 1:

The unwind the wires that are looped around the plastic end of the snaps.
Step 2:
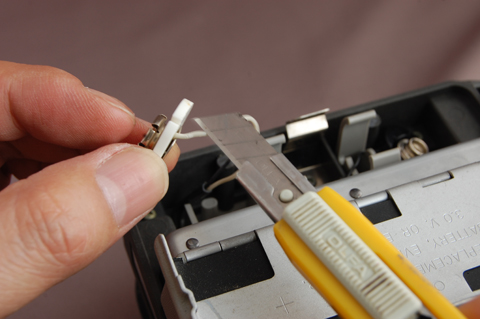
Cut the wires close to the snap.
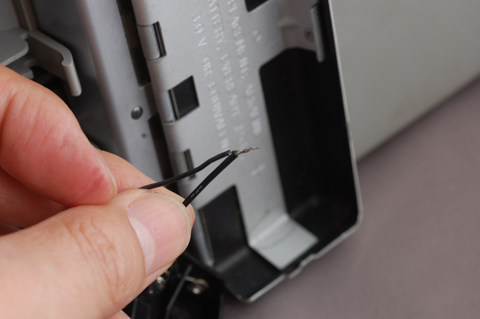
Step 3:
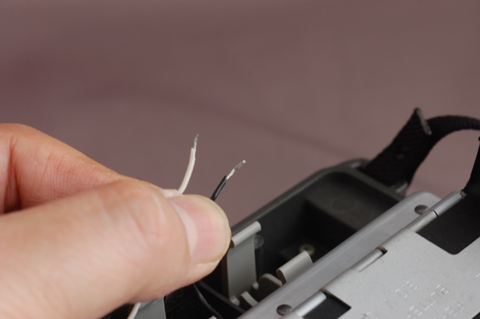
Strip about 1/4" (3-4mm) of insulation from the ends of the wires.
Step 4:
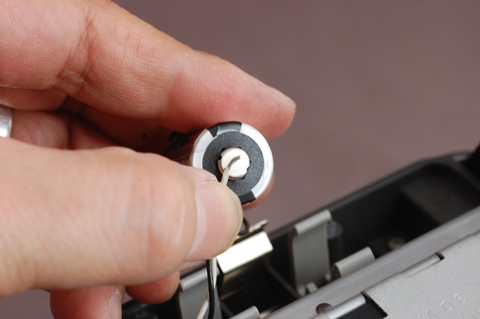
Tape the white wire to the positive end of the battery.
Step 5:
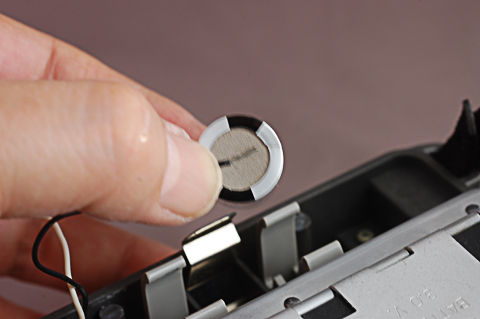
Tape the black wire to the negative end of the battery.
Step 6:
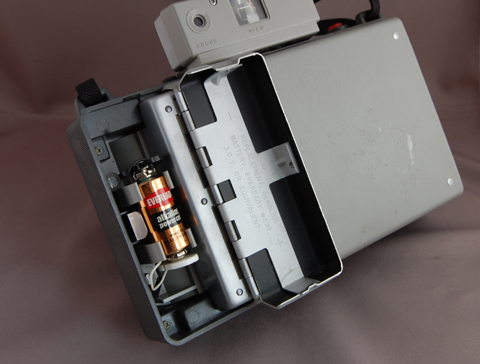
Insert the taped battery in the battery clip.
Check the shutter to make sure you have a positive connection to the battery.
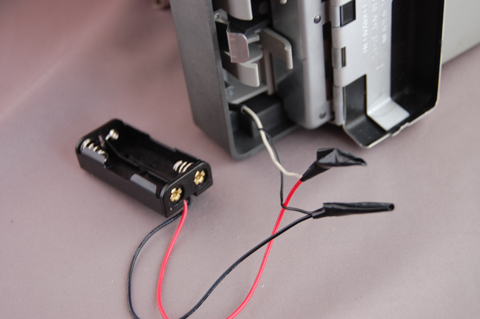
3 Volt Mod - Version 2:

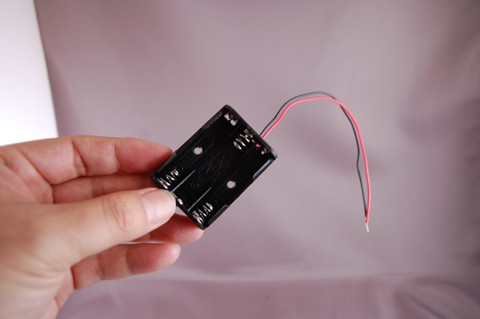
This is the more elegant version of the 3 volt mod. It uses a 2 AAA cell battery holder. I got mine from Radioshack, but any equivalent will do. The uncovered version is better, as the enclosed battery pack is slightly too large for the battery compartment.
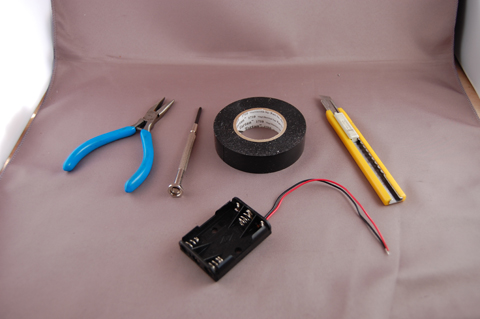
- Utility knife
- Electrician's Tape
- 2-cell AAA battery holder (Radioshack part #270-398B or equivalent)
- phillips screwdriver (if you need to remove a screw-mounted battery holder)
- needle nose pliers (if you need to remove a built in battery holder)
Follow Steps 1-3 above.
Step 4b:
Take the black wire of the battery pack, and match it up with the black wire of the camera.
Step 5b:
Twist the wires together. Wrap the two wires together with a 1.5" length of electrical tape.
Repeat these steps with the red and white wires.
Optional: If you are handy with a soldering iron, solder the wires together for the best connection.
Step 6b:
Step 7b:
You need to make room for the battery holder. If the battery clip screwed in, remove it with a small phillips screwdriver. If the battery clip is molded into the same plastic as the camera, you will have to remove it by nibbling at it with a pair of small needle nose pliers.
Note: A photograph will be added later, after I shoot the clip removal for the how-to video.
4.5 Volt Mod - Version 1:
This is the same as the 3 volt mod, version 2, except at the end. The 3 cell battery holder won't fit inside the battery compartment, se we need to make a notch in the battery compartment for the wires to come out.
Tools and Parts needed:
- Utility knife
- Electrician's Tape
- 3-cell AAA battery holder (Radioshack part #270-42 or equivalent)
- glue or velcro to attach the battery holder to the camera
Follow Steps 1-3 from the 3 volt, Version 1
Follow Steps 4b-6b from the 3 volt, Version 2, except you are connecting a 3 cell, 4.5 volt battery holder instead of the 2 cell holder.
Step 7c:
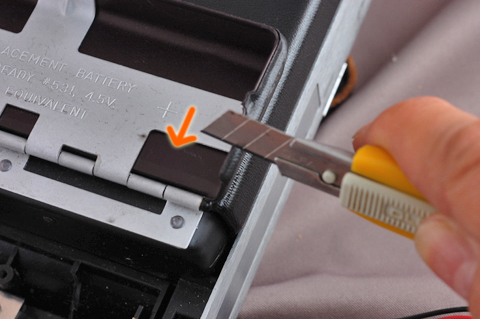
With the utility knife, start to scrape a notch to the left of the bump in the battery compartment door edge. You don't want to put the notch in the bump, as the bump is what holds the battery compartment door closed.
The battery compartment is metal, but it's aluminum, so it can be cut by using the cutting edge of the utility knife to scrape a notch into the metal. Scrape the metal to remove it, by applying pressure, and dragging the blade perpindicular to the compartment edge (in the direction of the arrow). Once you get a slight divot going, it gets easier to cut down into the metal. Little shavings will come off as you cut into the metal.
Step 8c:
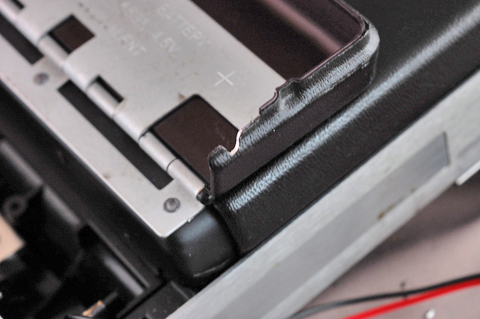
The finished notch.
Step 9c:

The battery pack can be attached to the camera with glue or industrial velcro applied to the battery pack and to the camera body.
To come: 4.5 volt mod, Version 2.
There is a more elegant solution for the 4.5 volt mod, but it involves modifying a 4-cell holder so that it holds 3 batteries. This is a lot of work, but the advantage is that the battery holder will fit inside the battery compartment.
I will post this 4-cell battery holder to 3-cell battery holder later, as I need to improve my light set-up, so that you can see what is being done to modify the battery holder.
FYI:
For those of you who are not technically inclined, you can still find batteries (#531 4.5v, #532 3v) at Amazon.com.
Polaroid Folding Land Camera Batteries:
Exell A19PX/ 531 4.5v battery
Exell A24PX/ 532 3v battery
 Camera Mod

